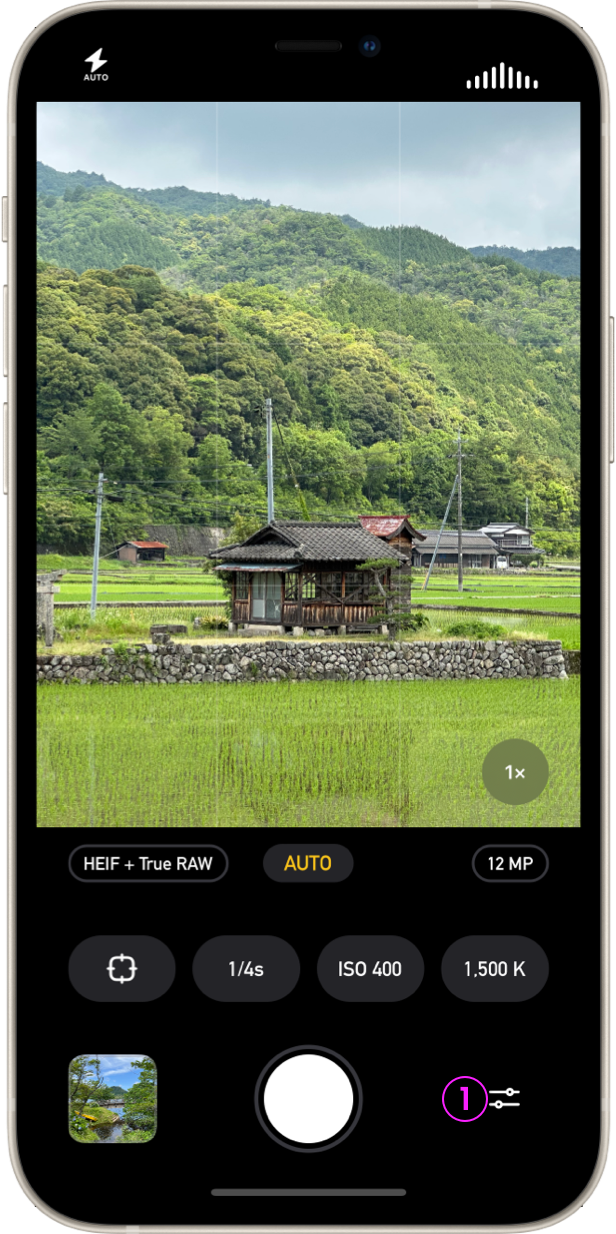
Photon was designed to be elegant and intuitive, so there aren’t many settings to fiddle around with in order to get the camera how you’d like it. Tapping the sliders icon (1) in the bottom right hand corner of the screen opens up the settings panel.
Menu
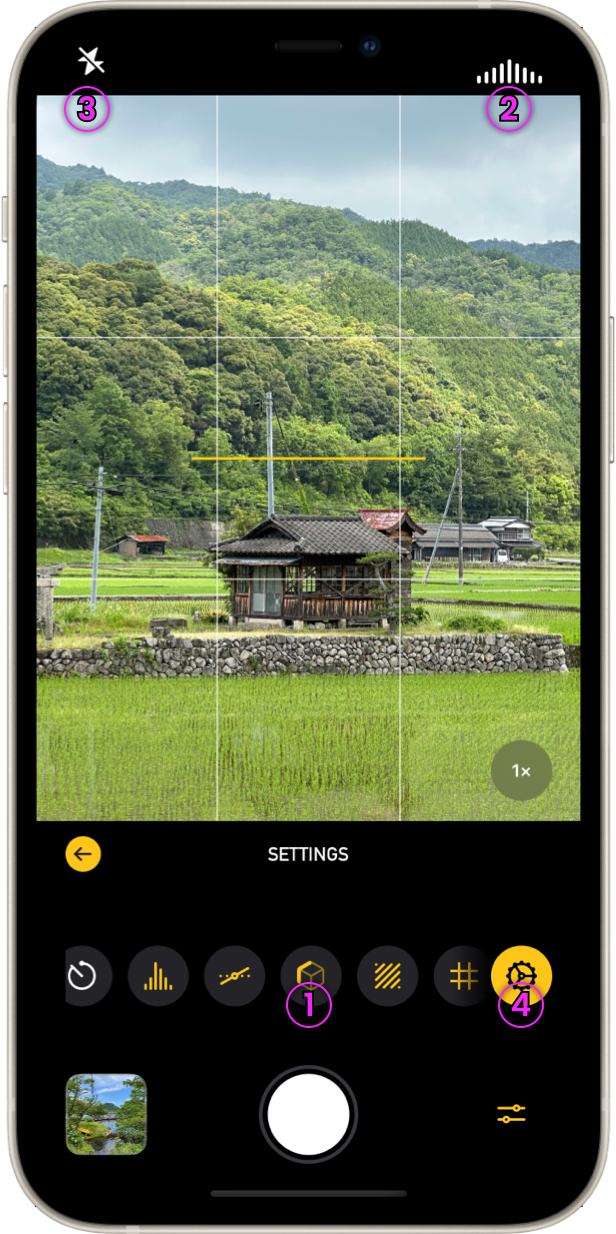
The menu bar (1) appears when you tap the settings button as shown above. You can swipe the menu left and right to reveal the following options:
 Timer
Timer
Tapping the timer button opens a menu allowing you to specify how much of a delay you’d like between tapping the shutter button and the photo being taken. You can choose between 3, 10, and 30 seconds. When a delay is chosen, it will be noted inside the shutter button, so it’s always clear exactly when your photo will be taken. To remove the delay, simply open the menu back up and select “off”.
 Histogram
A histogram is a little graph that helps you visualize the amount of light in your photo. The height of each line represents how much of each brightness of light is present. Lines towards the left side of the histogram represent dark tones, with the leftmost being black. Lines towards the right side of the histogram represent lighter tones, with the rightmost being white. With some practice, this can help you strike just the right balance of light and shadows.
Tapping the histogram button turns it on or off on the main screen. While on, it will show up in the top right corner (2) with a live analysis of what’s in the viewfinder.
 Level
Level
When you activate the level and hold your device straight, a line will appear across the center of the screen. If the line is white and tilted it is indicating the directing that your device is off from level. Once you adjust your device to be level, the line will turn yellow and give haptic feedback.
 Focus Peaking
Focus peaking is a bright green line that outlines the parts of your photo that are in focus. When you turn it on, you may notice that nothing happens! Focus peaking is only shown when manual focus is used, to help you fine tune exactly what you want in focus, even when conditions make it hard to see the detail on your screen, like a bright sunny day. Simply tap on the focus control button and move the wheel, and you’ll start seeing the highlights in the viewfinder. Tapping the focus peaking button toggles focus peaking while using the manual focus wheel on or off.
 Clipping
The clipping button turns on exposure clipping. This shows diagonal lines across your viewfinder, indicating the areas of your shot that will be either over or under exposed. Blue indicates under exposure while red indicates areas that will be over exposed. Clipping lines will only show up while manual exposure wheels are active, giving you a convenient point of reference while you’re adjusting your settings, but getting out of your way while you line up the shot.
 Grid
Grid
Tapping the grid button toggles a light 3 by 3 grid in the viewfinder. This can help you line up your show by the popular “rule of thirds”. It can also be helpful in composing your shot when a straight line, like the horizon is included.
Flash
Tapping the flash button (3) opens a submenu where you can set the flash to the following: off, auto, on, and torch. Please note, that prolonged use of torch mode will adversely affect battery life.
You can see the currently selected option highlighted in yellow, and as text to the right of the Flash title. You can use the yellow arrow button to go back to the main settings options.
Other
While we’ve kept the interface as tidy as possible, there are a few things that a modern day app can’t do without. By tapping the final, fixed button on the menu bar (4), you’ll find options to subscribe, change your preferred capture format, toggle manual priority, turn sound effects on and off, and toggle whether location data is saved with your photos.
Additionally, you can read the latest release notes, share Photon with a friend, or rate the app. You can also report a bug, find links to helpful articles, and read our privacy policy.